
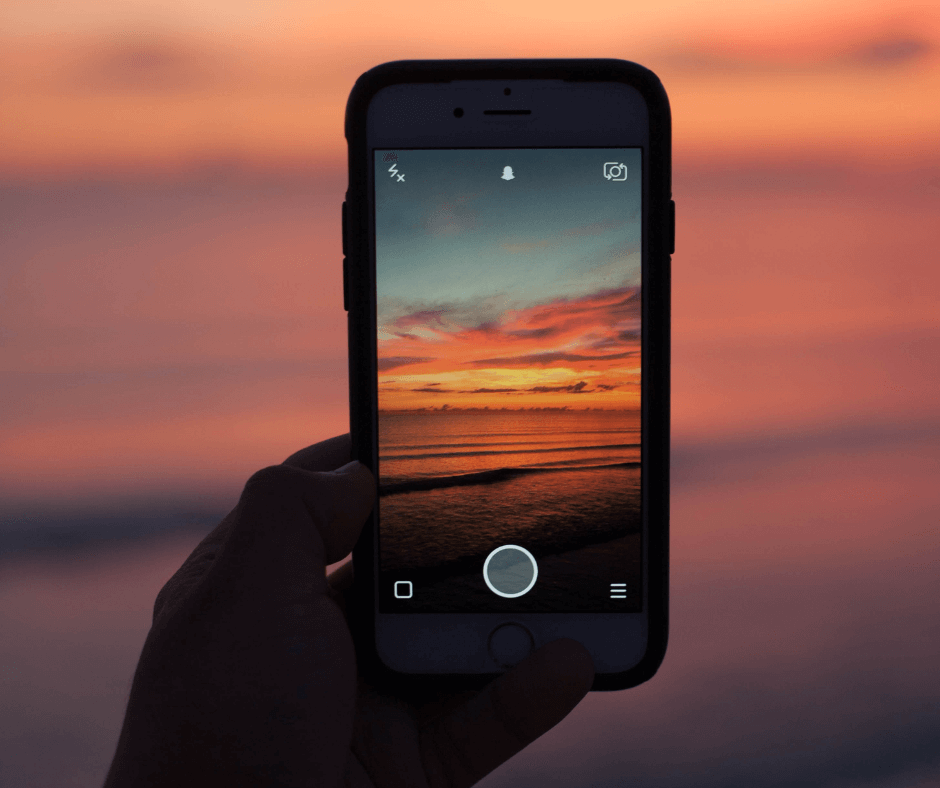
Take awesome pictures on your next vacation
We all want to take our best pictures while on vacation. These are the memories we revisit over and over. I am an iPhone user and have come across a few tips that have helped me in taking better pictures. It is widely regarded as being one of the best smartphones you can buy if you care about camera quality, it’s common to see some excellent pictures. Let me help you take great pictures with your iPhone.
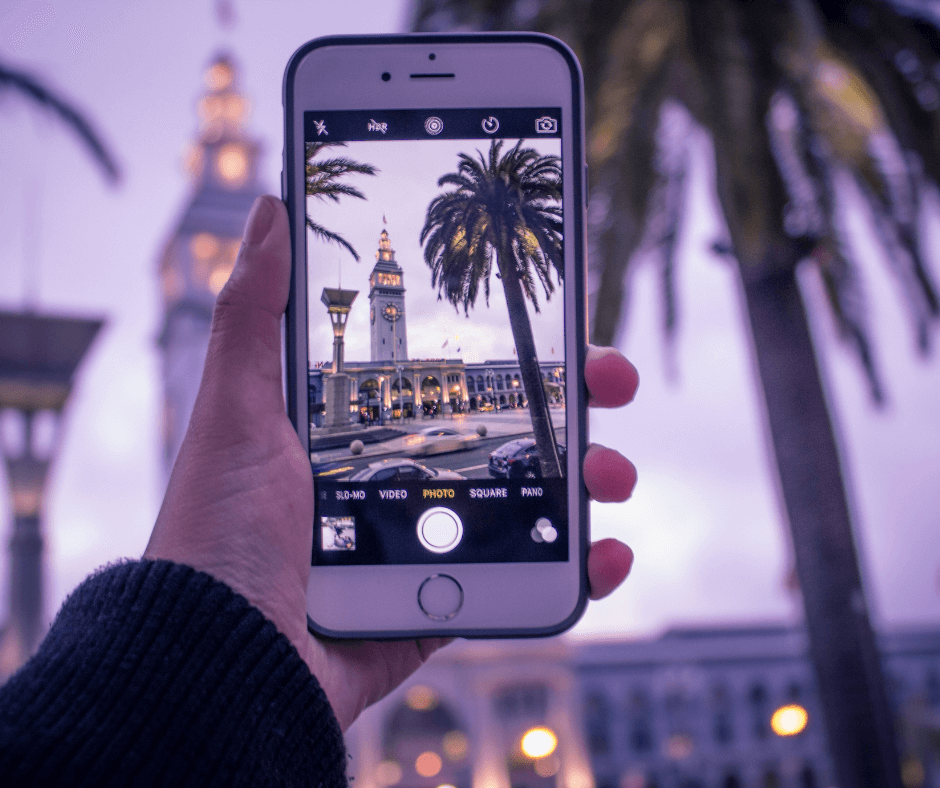
It’s not as hard as you think to get great shots from your phone. It’s all about knowing what your phone is cable of doing and then applying. You can also add a couple pieces of hardware to go to the next level. Even something worth framing!
Check out our tips below to get the most out of your iPhone’s camera and take some truly awesome pictures.

Swipe up and get more control.
It’s the worst-kept secret among iPhone users: There’s an easier way to access those extra controls people use to fine-tune their photos before shooting them.
Instead of tapping the downward-facing arrow at the top of the app, you can swipe up on the viewfinder. You’ll then see a suite of extra controls that will give you more granular control over how your pictures look. There are flash settings, Night mode, Photographic Styles (more on those later), aspect ratio settings, exposure controls, a timer, color filters and a RAW toggle.
These will all come in handy when perfecting your scene before capturing a photo, so you’ll likely find yourself swiping up more often than you think.
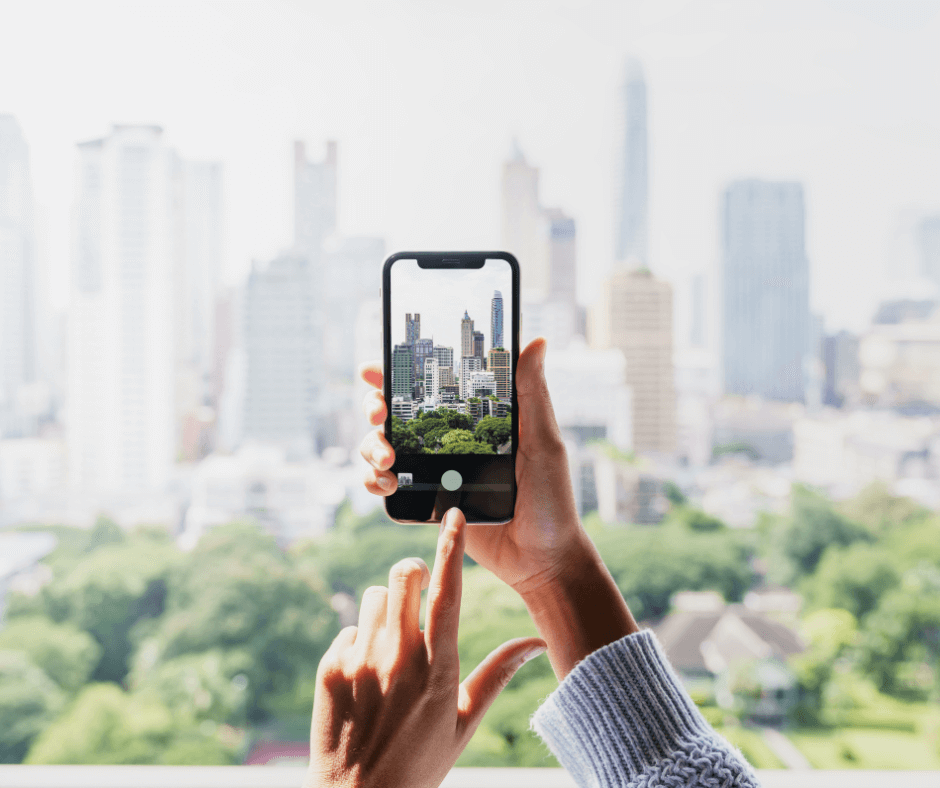
Change your perspective.
This seems obvious, but sometimes shifting where your camera is pointing can help you get a better photo.
Crouch down and look up at the subject you’re trying to capture, or walk around it and see where the light hits best. It’s also worth experimenting with different lighting and perspectives to capture the best-looking photo you can, especially when it comes to things like food and portraits.

Adjust the exposure.
If your subject is too bright or overblown by light, you can adjust your exposure in one of two ways.
The easiest way is to tap to focus on the subject in your frame, then slide up or down on the sun icon that’s presented on the right side of the box. This will bring exposure levels up or down and give you much more control over how the scene in front of you looks.
The second way is to swipe up on the viewfinder and locate the exposure settings. Swipe left or right to bring exposure levels up or down.
Get a grid.
One of my favorite tools for taking pictures on an iPhone is using a grid, which helps tremendously when centering a subject. By going to Settings > Camera and visiting the Composition section, you can enable a 3-inch-by-3-inch grid, which will give you an idea of where to position your subject in the frame.

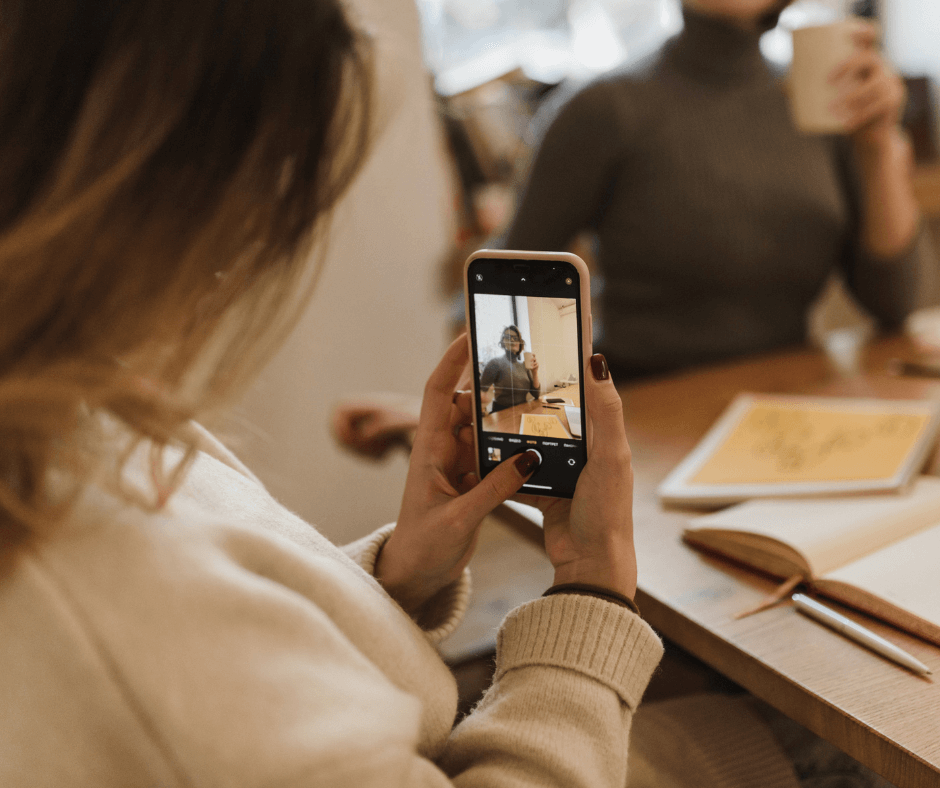
Add a blurry background with Portrait mode.
When taking a photo of a person, adding a soft and blurry background can add a dramatic and artistic touch.
Portrait mode can be accessed by swiping left on your iPhone’s viewfinder or by tapping “Portrait” in the mode switcher. From there, you can center your subject with your grid and add a soft, faded background to your photo. There are a handful of other portrait settings for different lighting conditions, including some that will black out your subject’s background and make them much more prominent in the finished photo.
It’s a great tool to play with and utilize when you really want to add a professional touch.
Utilize Photographic Styles
If you have an iPhone 13 or newer, swiping up in your camera app will present you with Photographic Styles. This setting is designed to help you take pictures that look the most appealing to your own tastes. It’s also an easy way to stay on brand if you like to keep a consistent look on your Instagram feed or photo gallery.
There are five different pre-built styles to choose from: Standard, Rich Contrast, Vibrant, Warm and Rich Warm. You can customize them to your liking, and the name of that style will adjust to reflect your changes. This way, you can capture images that add a bit more life or moodiness to a scene. You can toggle the style to stay on permanently, so you won’t have to worry about losing your look.
Each style isn’t just a typical filter either. Apple changes how it processes the photo you take when you select a certain style and apply it to your camera. Everything from the amount of detail captured to the lighting, color balance and contrast are affected and adjusted in ways a filter simply can’t accomplish.
Photographic Styles are a great way to enhance your photography game and take better advantage of what your iPhone is capable of.
Go deeper in your editing process.
Speaking of a professional touch, to really master how your photo will look before it’s ready for posting, consider taking a RAW photograph.
Modern iPhones can take pictures in the RAW format, which captures much more information about the scene in front of you and yields a larger file size as a result. Because there’s so much more information collected when compared to a typical JPEG or HEIC file, editing programs like Adobe Lightroom and Pixelmater Pro can add much more fine-tuned adjustments to your photos, and you’ll gain more control over how the picture looks.
Apple’s own editing tools in the Photos app on the iPhone can also get a better grip on how your picture will look so long as it’s a RAW image. You’ll likely want to delete the RAW file after you’ve saved a more efficient copy since they can gobble up your phone’s storage over time, but it’s nonetheless a very handy tool if you want to kick your post-capture game up a notch.
On iPhone Pro models, Apple includes its ProRAW format, which not only captures all the data of a normal RAW photo but also the company’s post-processing, so the image looks good enough to share right out the gate. You can fine-tune the look of the picture using any of the tools mentioned above.

Using the Pano (Panoramic)
Pano is self-explanatory but a little trick to get the best picture of your subject that is standing in front of a tall object such as a building, art, tree, etc. You put the phone in panoramic mode and turn the phone sideways and take the panoramic phone down to up. It captures your subject and the full tall structure in the back.
Macro mode for micro subjects
The iPhone 13 Pro and Pro Max include a new feature called macro mode that allows you to get extremely close to a subject (as close as two centimeters) so you can capture far more detail than a typical telephoto lens. It’s especially useful when your subject is particularly tiny.
Move your iPhone as close as you can to the subject, you’d like to capture without letting it drift out of focus, and you’ll watch your viewfinder automatically switch to the ultrawide lens to get the shot. The iPhone is capable of some impressive macro photography, so play with it and see what kind of pictures you can snap.
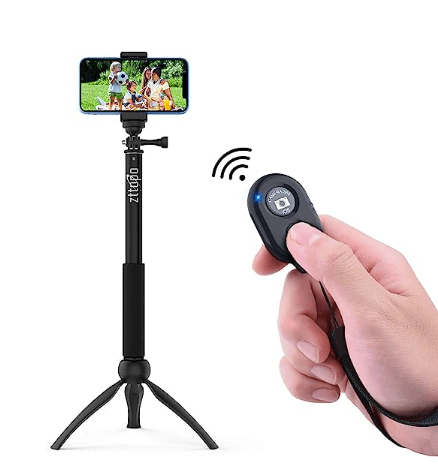
Consider a tripod.
No matter how steady your hand is, sometimes it’s just good to strap your iPhone to a tripod. That way, you can ensure your phone is correctly balanced to capture a straight photo without any concerns over motion blur.
A tripod is handy when it comes to taking pictures at night. By utilizing a tripod and a long exposure setting in Night mode, you can capture nighttime landscapes and even the night sky.

Note: Get a remote shutter and it works great when you are solo. You just set up your camera in a steady location and then use the remove shutter to get the shot!
Get better night shots.
Nighttime photography is a tricky skill to master, but there are some easy ways to capture darker conditions in brilliant detail right on your iPhone.
Visit the swipe-up controls and tap the Night mode button (which only appears if your iPhone thinks it’s dark enough to use Night mode). From there, you can adjust how long the exposure lasts when taking a photo. This allows the camera to keep its aperture open longer, taking multiple different photos at various exposures and combining the data from each of them for a more balanced result.
Sometimes, the automatic exposure setting your iPhone applies won’t be enough to grab the amount of detail you want, so increasing it by a few seconds may help. Be sure to keep your hand steady, by the way, since it’s easy to mess up a long exposure shot with a simple twitch or other unintended movement.
It’s also good to turn your flash on every now and then if it’s really dark, but if you can avoid it, we recommend doing so since you don’t always get the most evenly lit shots with it on.
Add Lenses
Other third-party equipment worth checking out are additional lenses for your iPhone. Various companies sell different lenses like fisheyes, telescopes and more so you can get much different-looking photos than what the pre-built lenses in your iPhone capture. They’re helpful for when you might want to get even more of a scene into a single photo or get closer to a subject than what macro mode is capable of.
You can go much deeper into most of these tips but this should get you started. Each time you take a picture you should take one your normal way and then experiment and see if you can add some of these tips. I think you will be pleased with the results. I don’t even carry a full size camera any longer!
FAQ’s
What makes the iPhone a good choice for photography?
The iPhone is widely regarded as one of the best smartphones for photography due to its advanced camera capabilities, image processing algorithms, and user-friendly camera app. It offers excellent image quality, ease of use, and a range of features that allow users to capture stunning photos.
How do I access the extra camera controls on my iPhone?
To access the extra camera controls, simply swipe up on the viewfinder in the iPhone’s camera app. This action reveals a suite of additional settings, including flash options, Night mode, Photographic Styles, exposure controls, and more.
What is the benefit of changing my perspective when taking photos?
Changing your perspective allows you to explore different angles and viewpoints, adding creativity and uniqueness to your photos. By crouching down or looking up at your subject, you can create more dynamic and visually interesting compositions.
How can I adjust the exposure of my photos?
You can adjust the exposure in two ways: Firstly, tap to focus on your subject, and then slide up or down on the sun icon that appears on the right side of the screen. Secondly, swipe up on the viewfinder and locate the exposure settings, then swipe left or right to adjust exposure levels manually.
What is Portrait mode, and how can I use it effectively?
Portrait mode is a feature that allows you to capture artistic portraits with a blurred background, also known as bokeh. To use it, swipe left on the viewfinder or select “Portrait” in the mode switcher. This mode is particularly useful for highlighting your subject and adding a professional touch to your portraits.
How can I get the most out of Photographic Styles on my iPhone?
If you have an iPhone 13 or newer, you can use Photographic Styles to customize the look of your photos. Experiment with the five pre-built styles (Standard, Rich Contrast, Vibrant, Warm, and Rich Warm) and adjust them to suit your preferences. Photographic Styles go beyond regular filters, affecting various aspects of the photo to achieve your desired aesthetic.
What are the advantages of shooting in RAW format?
Shooting in RAW format captures more information and details in your photos compared to JPEG or HEIC files. This allows you to make more precise adjustments and enhancements during post-processing using professional editing tools, resulting in higher-quality images.
Conclusion
With these tips and tricks, you can take your iPhone photography to the next level and capture unforgettable moments during your vacation. Experiment with different settings, perspectives, and accessories to discover your unique style and create stunning images worth cherishing for years to come. Happy shooting!


